Spring One Room Challenge | Powder Room: Week 1

It's HERE!!! The day I've been waiting to tell you about! I've decided to participate in a design challenge called the One Room Challenge, hosted by Linda at Calling It Home. The challenge goes for six weeks and the goal is to makeover one entire room in that timeframe. If you've ever tackled a home reno project, I'm sure you're raising your eyebrows right now. I know I did! Six weeks may sound like a decent about of time, but believe me, it will fly by! Each of the six weeks will feature its own blog post showing the progress, decisions, and tutorials involved. 

One Room Challenge Guest Participant

The room I've decided to tackle is our powder room. This half-bath on our first floor has been a bit of an eyesore for quite some time. I have a hunch that the people who lived here before us "remodeled it" but there are lots of details that are kind of wonky and drive me BONKERS! lol. 

Exhibit 1: Look at how close the bottom of the light fixture is to the top of the medicine cabinet

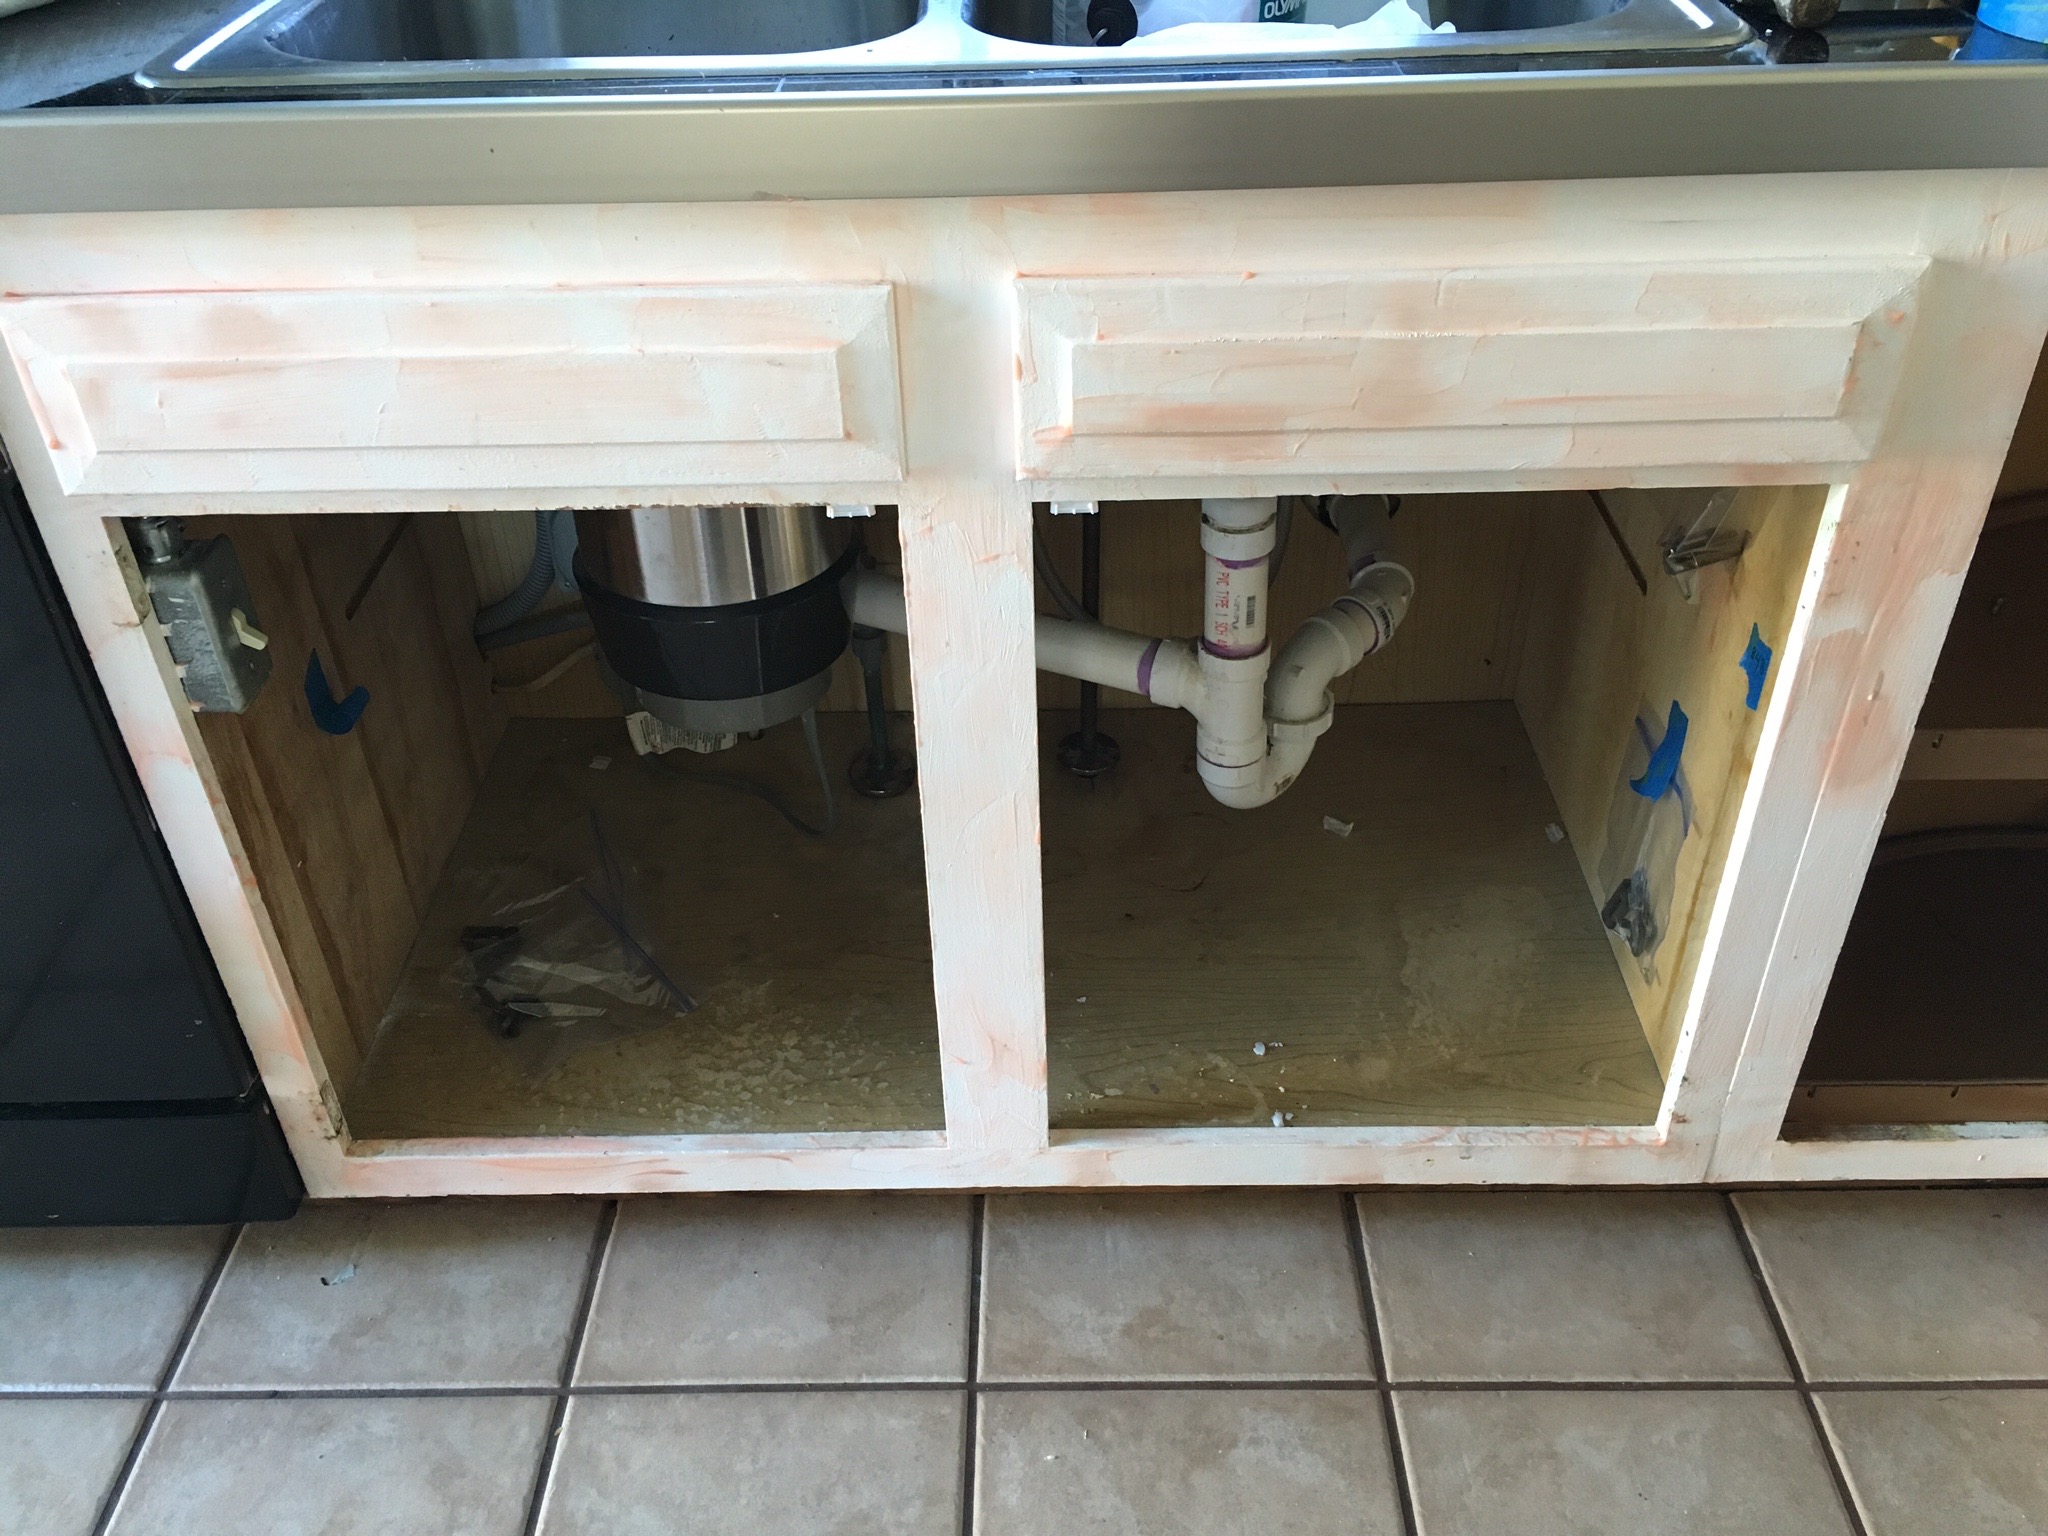
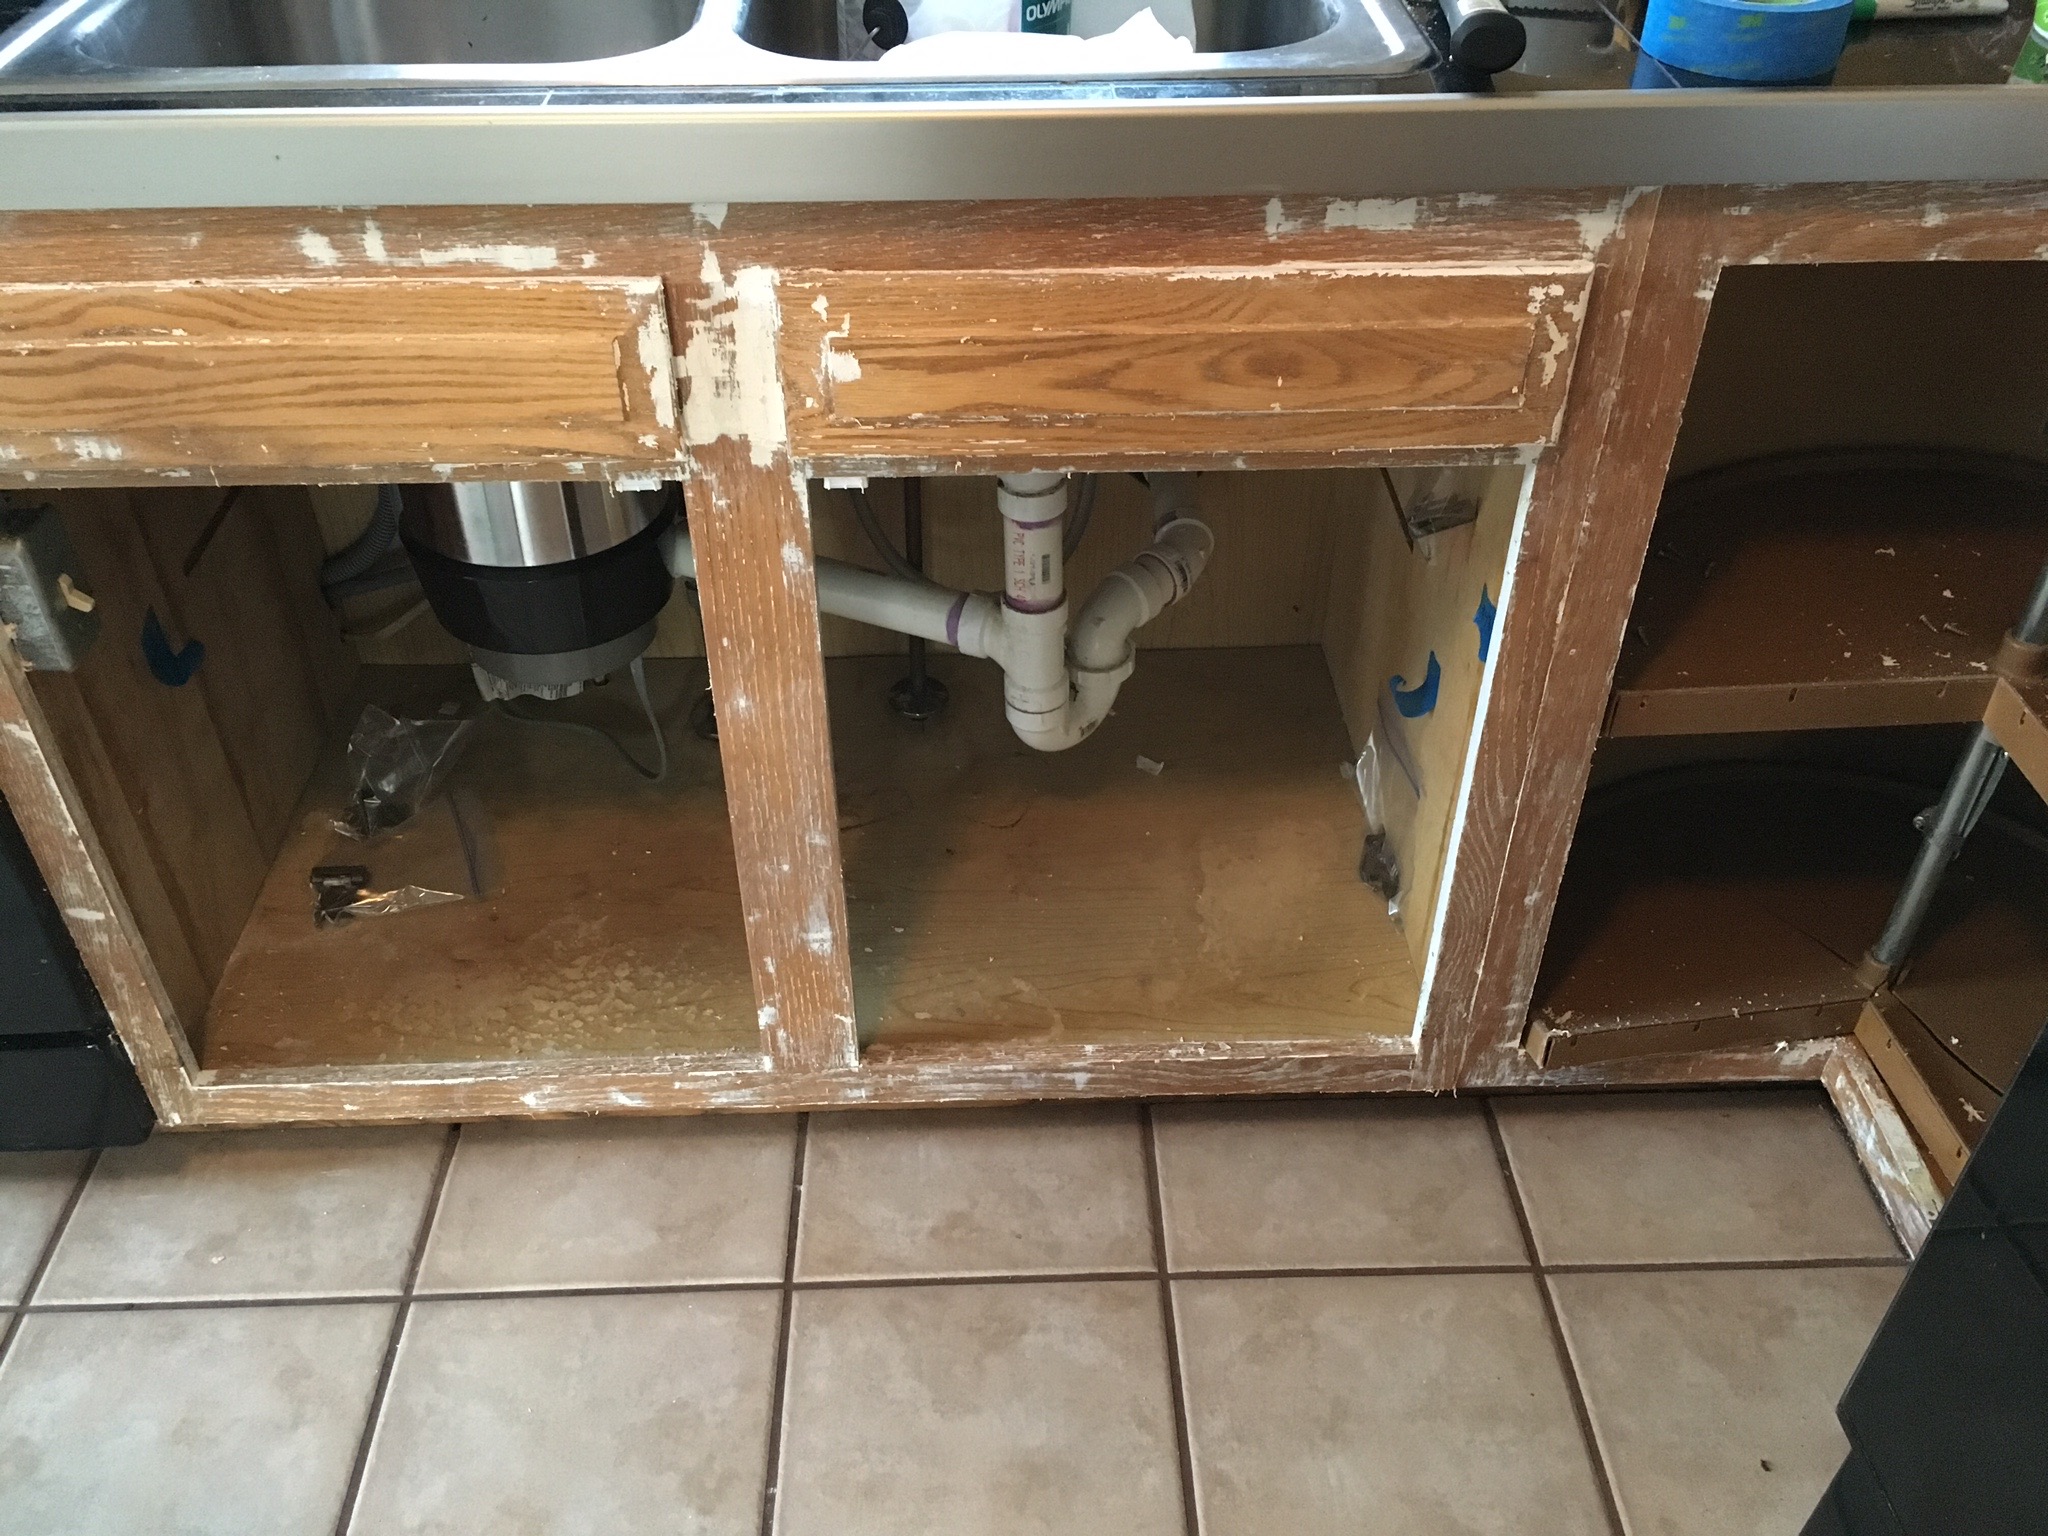
Exhibit 2: There is no trim or finished edge around the bottom of the vanity--just streaky glue lines where it looks like it was torn off and not fixed. 

There are others boo boos, but you get the idea. And in all fairness, the gross yellow color on the walls was all my doing. I had the paint leftover from my kitchen (the color didn't look much better in that room) and just threw it up in here when I patched some holes in the wall and didn't have the original color to touch up. 

ORC Powder Room Before Picture

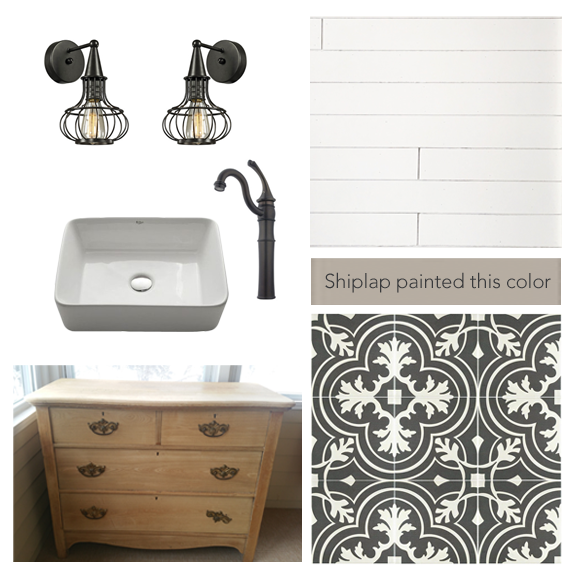
SO, the high level to-do list:

  • Paint Vanity
  • Faux Shiplap Bottom Portion of Wall
  • Wallpaper Top Portion of Wall
  • Replace Light Fixture, Mirror, Faucet, and Vanity Hardware
  • Add New Towel Bar and Paper Dispenser
  • Add Artwork

This isn't a gut-job because A) we can't afford that right now, and B) I think the big things are salvageable and will look okay with the other changes we're going to make. I'm all about making big changes in a budget friendly way and getting a dramatic look without blowing the bank. 

The one thing that I would love to be able to tackle is the floors, but because the same tile flows into our entryway and kitchen, there's no way that can happen right now. In the meantime I tried to select finishes and details that don't clash with the floor but are still things I love on their own.

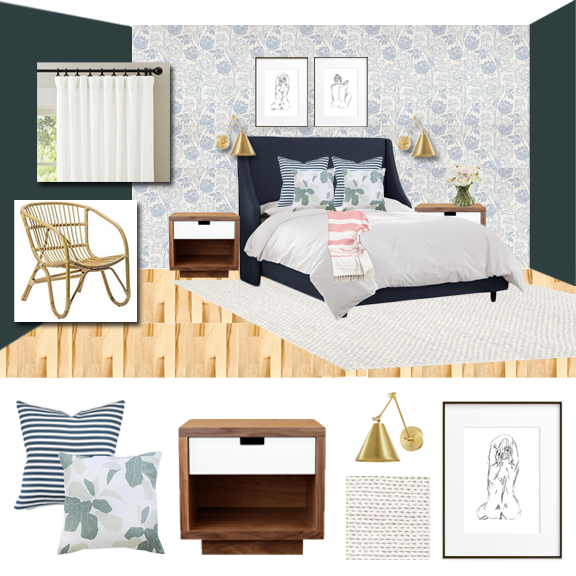
I made a mood board to show the overall look I'm going for. A little bit traditional, a little bit coastal, and a tiny bit of mid century flair. I'm super excited the mix of styles and I can't wait to get started on the room! 

Be sure to follow the projects of the 20 featured designers as well as the other guest participants for incredible design inspiration and DIY ideas! 


You Might Also Like

Master Bathroom Reveal

I can't even begin to tell you how excited I am to show you photos from this gorgeous master bath and bedroom! In case you missed the "before" pictures, you can find them here. WHAT A DIFFERENCE, right!? 

One of my favorite details is all the natural light. Using a glass shower enclosure and half wall take full advantage of the light pouring through the window (don't worry, it's privacy glass!) and then the large mirror over the vanity reflects the light into every corner of the room and overall makes the space appear larger. Orienting the sliding doors in front of the window means that when they are open the sunshine can spill right into the bedroom too.

Speaking of those doors, they are another favorite! The clients indicated that they would really like to use the doors that had been removed in the demolition phase when two bedrooms became one open loft. I'm always a fan of recycling materials so naturally I loved this idea and we made sure to size the new openings accordingly. As an added bonus, these doors are original to the house so they really help to maintain the character and tie in the old and new construction seamlessly. 

Take a look at the finished space below and let us know what you think!

All photos by Rachel Liz Photography

We would love to help you make your space the home of your dreams! Check out our design services and let us know how we can help!

Master Bathroom Build: Part 1

I am nearly bursting at the seams, that's how excited I am to be sharing this project with you! When some dear friends told me that they were going to add a bathroom to their loft bedroom, turning it into a bonafide master suite, I couldn't wait to get started on helping them design a beautiful, functional en suite.

Some of the requirements and priorities of the project included:

  • Separate toilet room
  • Large (ideally walk-in) shower
  • Vanity/makeup counter
  • Maximize natural light from window
  • Bench in shower (this got moved lower in the priority list as the project got underway, with the client opting for more square footage in the shower and a corner ledge instead) 
  • An open feel into the bedroom
  • There was also some plumbing that could not be moved and dictated a fixed point for the toilet

We started with a mood board for the space and a few iterations of floor plan layouts. Interestingly enough, the layout that the clients ultimately selected was not the one they were initially drawn to. I am so grateful they were open to suggestions outside of their comfort zone because the final configuration answers many of their must-haves in an elegant and efficient way.

Here is a BEFORE picture that the client sent at the start of the project. The blue tape line indicates where the wall between the bedroom and bathroom will be. In the final design we ended up stealing about 10 additional inches from the bedroom side. It was hardly noticeable in the bedroom but made a huge difference in the bath.

Master Bath Build Before Picture

The floor plan received a few more tweaks after this, but here is the working concept.

Master Bathroom Floor Plan

3D perspective images helped the clients visualize what the space would look like built out, as well as get a feeling for what the organization and flow would be.

Master Bath Sketchup Model
Master Bathroom Sketchup Model

And finally, pencils down and hammers up! Here are a few pictures of the work in progress.

Master Bathroom // In Progress
Master Bathroom // White Subway Tile
Master Bathroom // Walk-In Shower // White Subway TIle

Want to see how it all came together? Check out the after pictures here!

Kitchen Update: Stripping Cupboards and Finish Selections

The last week and a half have been consumed by this kitchen renovation.  (If you missed that this was happening, you can catch up on the details here.) A little bit of trial and error, a LOT of hard work, and a few late nights, but we are making progress!

Here are some of the finishes we've made a decision on:

Originally I thought I wanted true black paint for the lower cabinets, but after some helpful feedback and some continued Pinterest browsing, we settled on this dark, charcoal gray instead. It is Kendall Charcoal by Benjamin Moore. I am literally jumping up and down in excitement to get this on the cupboards to see how it looks! Also, the guy at the paint store was so nice and full of helpful tips. Hooray for happy, nice people--you make me smile!

I was almost 100% sure that I wanted to use a dark grout with my white subway tile but I was still a little nervous about it being SO DARK. Then I found this medium gray grout that Jen over at With Heart blog used in her kitchen makeover and I knew that this was the one! I also discovered that I can create and pay for an order online with Home Depot and then when I get to the store with baby in tow, it will be waiting for me--no running around finding everything! How awesome it that!?

Another change in the paint game: I really, really wanted a pale, icy blue for the wall color. I taped paint chips to the wall for at least a week so I could be sure of the exact shade... then, when i got the first coat on, I realized I had a made a mistake. The rest of the house just doesn't work with my beautiful ice blue. Instead I'll go with the neutral gray we've used throughout the house: Silver Spoon by Olympic Paint. 

And here's the nitty gritty of what we've been working on!

Image progression: existing cabinet where the microwave is sitting, me checking to see if there is tile underneath the cupboard, YES! there was, so I ripped that sucker out! (all by myself, I might add!)

Because the previous paint job was so bad--lots of texture, drips, etc--I decided it would be worth the effort to strip it all off before starting with the new paint layers. I'm using Citrustrip because it isn't as harsh as and chemically as others and so far I have been happy with the results. This part is almost done and my poor fingers will be happy for the break!